My kids bought a small hanging solar light bulb.
They did not want to hang it. They wanted it on the desk, so Tobias and I made a stand for it.
I used an AI agent to help create a parametric 3D design instead of drawing the model by hand.
The workflow was:
- measure the round glass bulb
- describe the holder we wanted
- generate editable Python CAD code
- export STEP and STL files
- validate the model
- slice it
- print it
- test the physical fit
- adjust the design
The final cradle is 76 × 72 × 12 mm, with a 62 mm socket and a shallow 9.5 mm cutout for the glass.
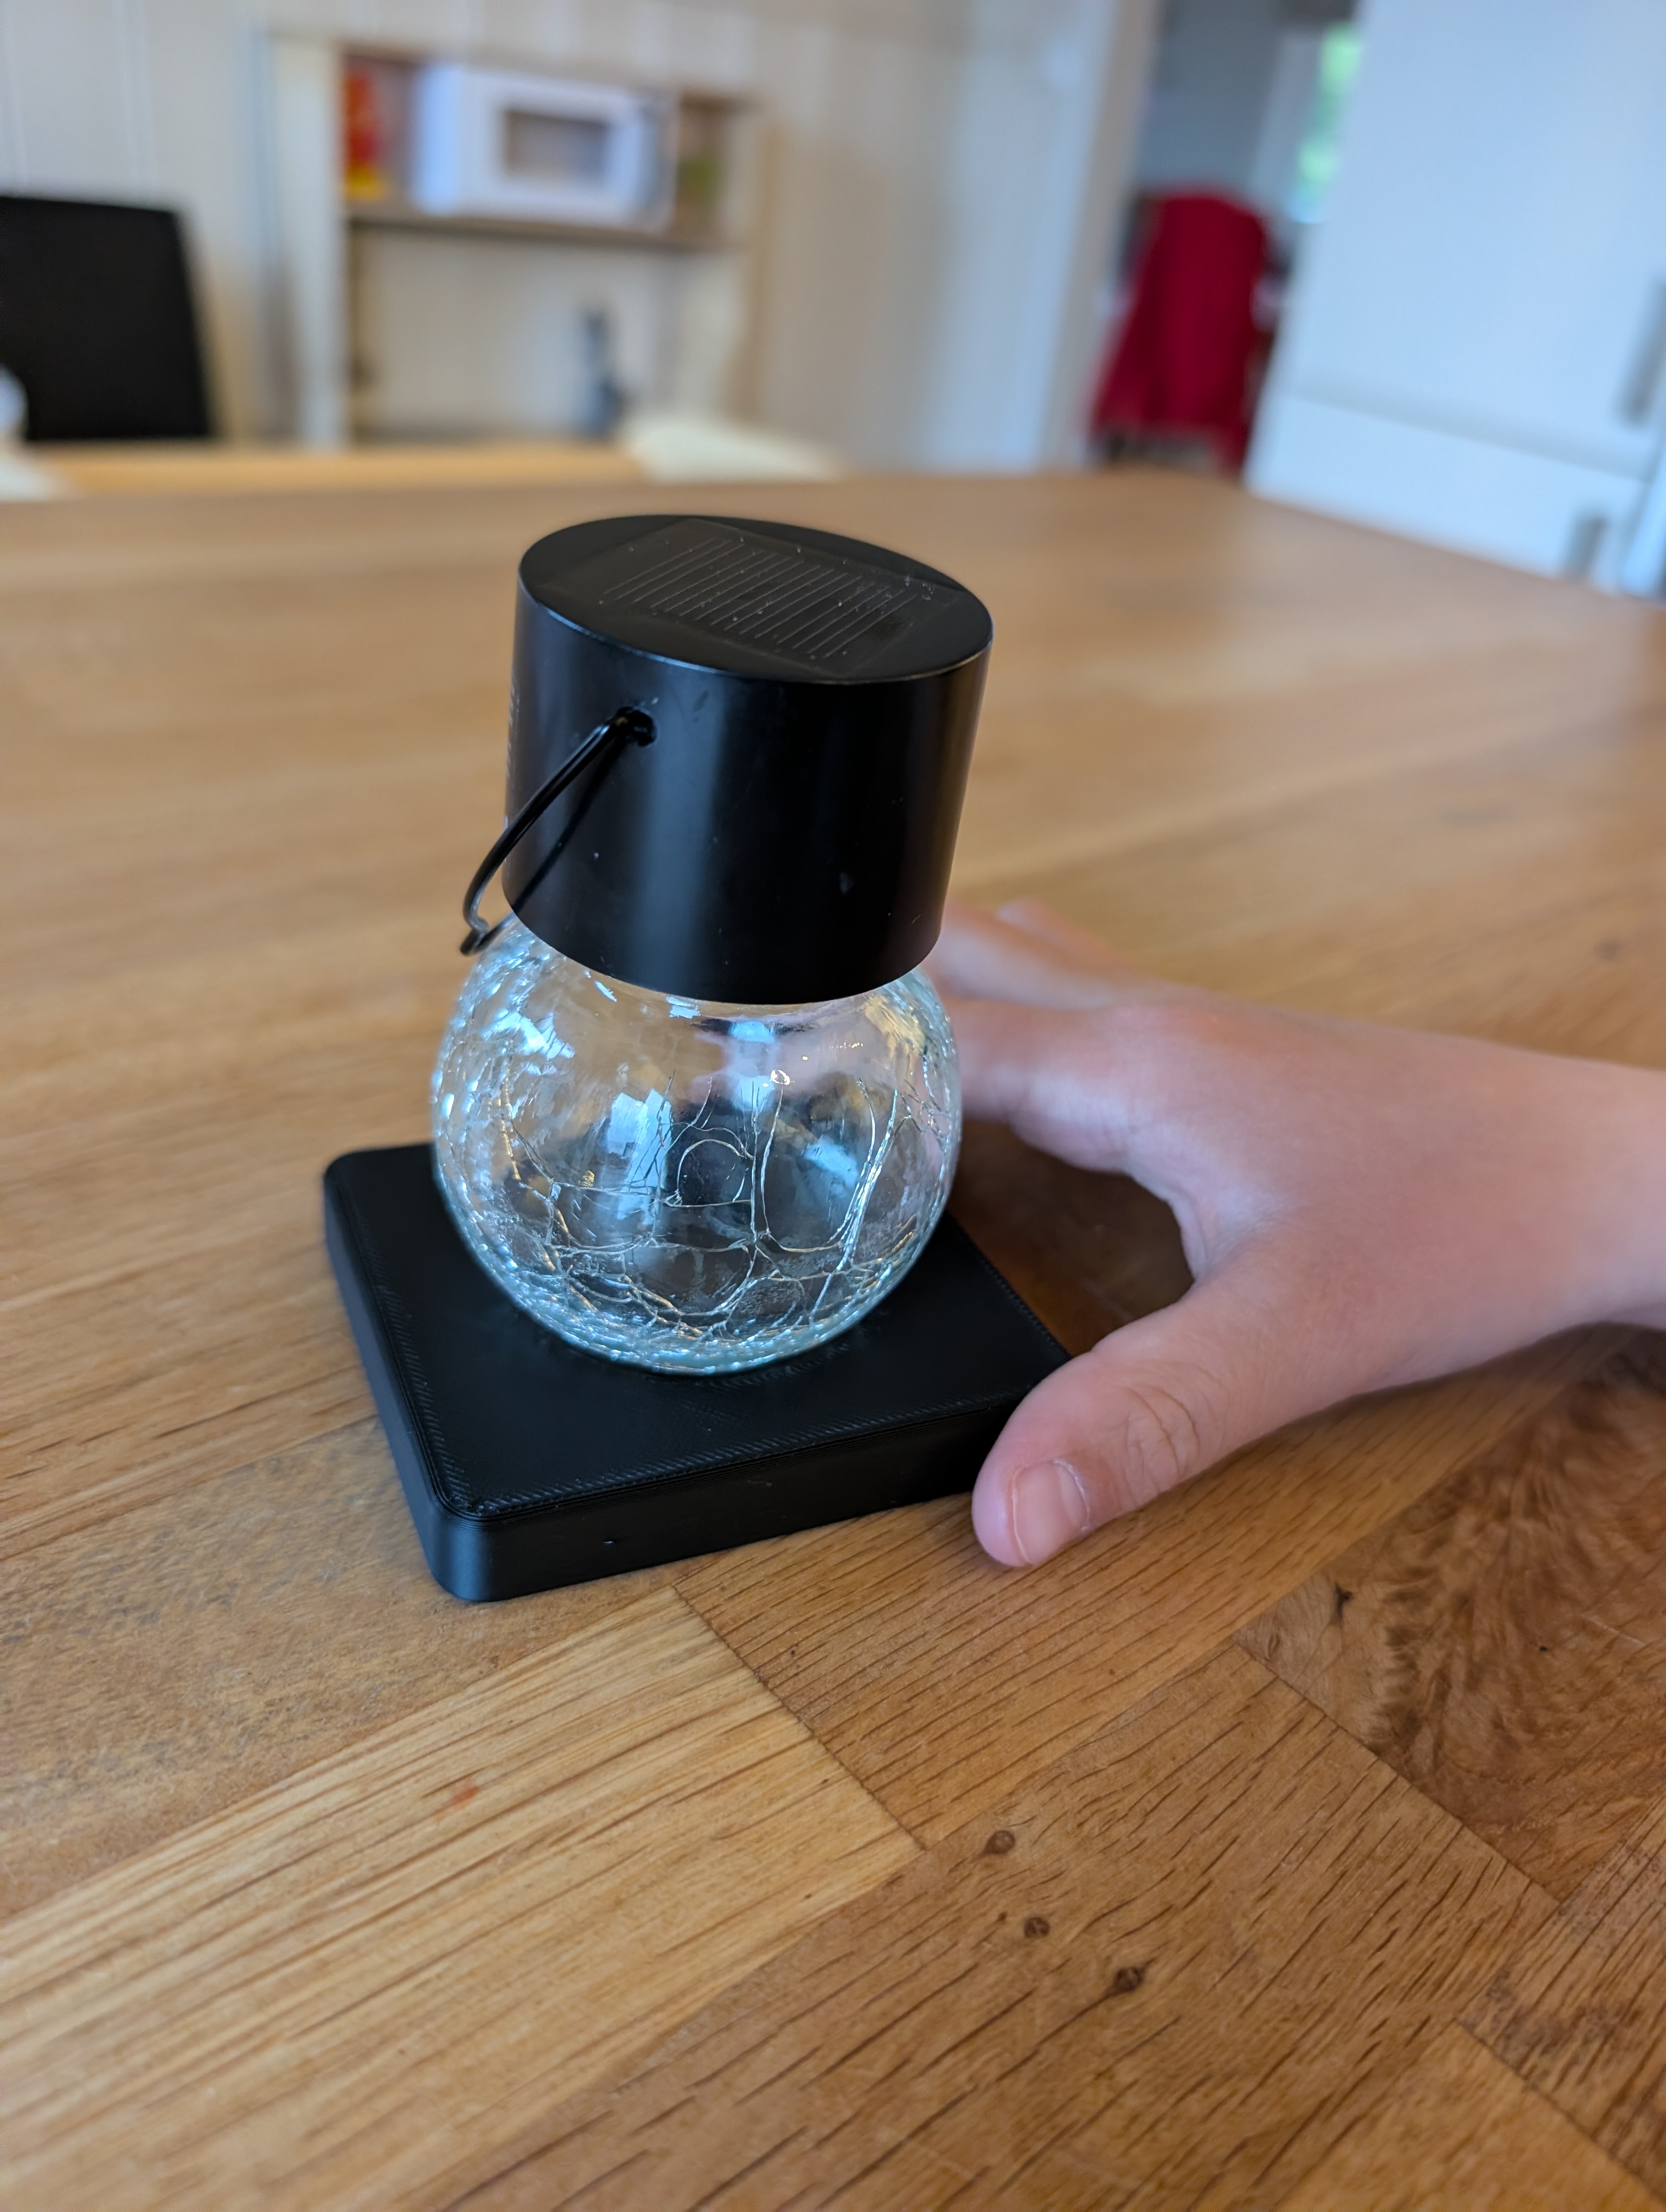
The object is a small black base for a cracked-glass solar bulb. I liked the project because Tobias could see the complete path from an everyday problem to a physical object:
idea → AI-assisted design → parametric CAD → STEP/STL → slicer → printer → physical result
The repository uses a source-first 3D printing workflow. The Python CAD file is the source, STEP is the editable export, and STL is the slicer input. I documented the agent workflow so we can reuse it for other small household parts.
This is where I like AI agents most. The result is something I can inspect, adjust, print, and hold.
For functional prints, I want dimensions, clearances, tolerances, and editable code. A prompt-to-mesh result may look good, but a parametric model is easier to measure and fix after the first print does not fit.
For Tobias, the fun part was visible. An idea became code, then a model, and finally a real object on his desk.
Repository and process notes: https://github.com/hajekt2/3dprint